In a culinary world brimming with stainless steel kitchens and gadgets, the wooden chopping board remains a steadfast ally, carrying tradition, warmth, and a touch of the rustic charm. It’s not just about aesthetics; wooden boards are renowned among chefs for their durability, knife-friendliness, and most of all, their ability to foster a clean and healthy cooking environment. However, to maintain these standards of hygiene and functionality, regular cleaning and care are essential. In this comprehensive guide, we’ll walk you through the detailed process of how to clean and maintain a wooden chopping Board so that it remains the centerpiece of your kitchen, both in terms of utility and appeal.

The Importance of Cleanliness in the Kitchen
Cleanliness is not just a virtue; it’s a mandate in the kitchen. With food at the very center of life’s sustenance, the kitchen is a hotbed for bacteria and germs. Poor hygiene can lead to foodborne illnesses and, at the very least, a less savory dining experience. Wooden boards, while naturally anti-bacterial, require regular upkeep to ensure they’re free from harmful pathogens.
Step 1: Preparing the Chopping Board for Cleaning
Before you dive into scrubbing, it’s important to prepare the board. Start by scraping off any excessive food residue with a bench scraper or a small knife. Once the bulk is off, give the board a thorough scrub using a brush and mild detergent. Remember, the key here is not to soak the board – wood and excessive moisture are not the best of friends.
The Brush-Scrubbing Technique
For this method, you’ll need a stiff-bristled brush and a mild dish soap. A good scrub should be enough for regular cleaning. For tougher stains, a sprinkle of salt or baking soda can provide the grit to cut through grime without harming the wood.
Step 2: Disinfecting the Chopping Board
Cleaning and disinfecting are two different beasts. While cleaning removes the visible grime, disinfecting kills the invisible villains. For wooden boards, we need to go gentle – harsh chemicals can leave behind toxic residue and damage the wood over time.
Natural Disinfectants
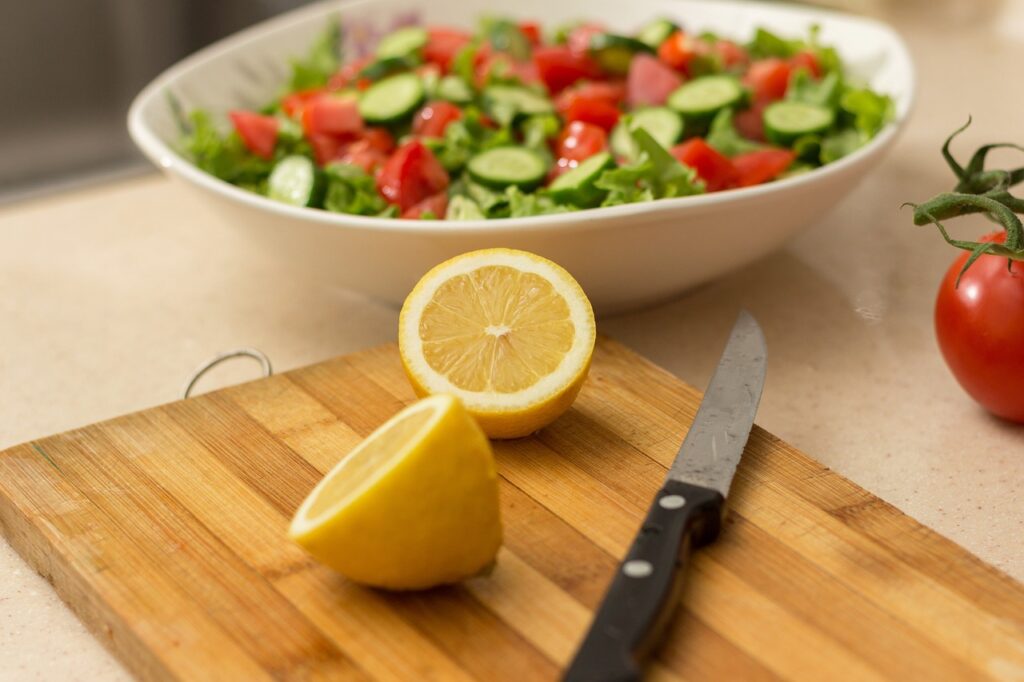
The kitchen provides the perfect closet of ingredients for natural disinfectants. You can use distilled white vinegar or a lemon cut in half, covering the board and allowing it to sit for a few minutes before rinsing.
Step 3: Removing Stains and Odors
Stains and odors can be pesky to eliminate, especially on porous wooden surfaces. The good news is, the solution is often already in your pantry.
The Baking Soda Blitz
For stains, apply a paste of baking soda and water, gently massaging it into the wood. Allow it to sit for a few minutes and then rinse. For odors, a similar process with lemon juice or even hydrogen peroxide can work wonders.
Step 4: Oiling and Conditioning the Chopping Board

Wooden chopping boards, like all wood items, require occasional oiling to maintain their integrity and moisture balance. This practice not only keeps the board from drying out and cracking but also helps repel water and bacteria.
The Art of Oiling
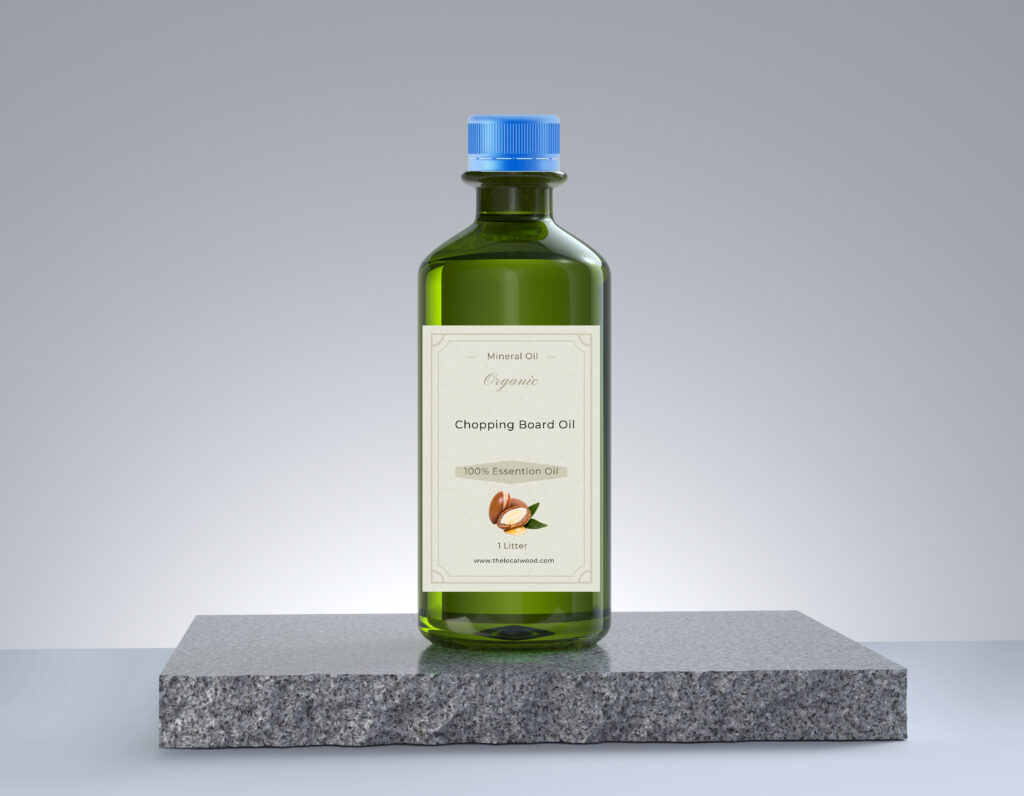
When oiling your board, it’s critical to choose the right oil – mineral oil and food-grade linseed oil are the go-tos for the job. Apply a generous amount, spread it evenly using a paper towel, and let it soak in for several hours, or overnight if possible.
Step 5: Regular Maintenance and Care
Consistency is key to keeping your board in top-notch condition. After each use, wash with mild soap, disinfect as necessary, and dry immediately. Never put a wooden board in the dishwasher – it’s a surefire way to destroy it.
Avoiding Common Pitfalls
Moisture is the biggest adversary to a wooden board. Avoid leaving it in standing water, clean up spills promptly, and never let it air dry. Similarly, excessive heat exposure, like that from an oven or prolonged sunlight, can cause warping and cracks.
Conclusion
A well-cared-for wooden chopping board is an investment in safety and quality. By following the steps outlined above, you ensure that your board is ready to serve you in crafting delicious and healthful meals time and time again. Remember, the wood you use in the kitchen should be cherished, just like the meals it helps create. Keep these tips handy, and you’ll be cooking clean and cooking well for years to come.

