How to Oil a Chopping Board?
In the bustling universe of your kitchen, the humble chopping board holds its ground as an essential tool. From slicing the perfect tomatoes to chopping onions that bring a tear to your eye (or not), this trusty surface is a cornerstone of many culinary creations. But what happens when your invaluable board starts to show signs of wear, threatening to sabotage the most crucial aspect of your cooking—sanitation and safety?
The answer is oil.
The art of oiling a chopping board is a craft that balances maintenance, nourishment, and protection. Delving into the specifics of this kitchen ritual will not only empower you to extend the life of your board but also foster a defensive barrier against detrimental elements. Let’s uncover the layers of this essential process and ensure that your cutting board is as prepared for culinary battles as you are.
Why Oiling Is Important
Before we leap into the practicalities, it’s critical to understand why oiling a chopping board is more than just a kitchen chore—it’s a maintenance must. A well-oiled chopping board repels moisture, which can lead to warping and cracking. Moreover, it prevents the proliferation of bacteria, making it a safer surface for food preparation.
Benefits Galore
The benefits of oiling your board are manifold. Not only will it enhance the appearance of the wood, bringing out its natural luster, but it will also make it less porous, further reducing the risk of staining and odors seeping into the board.
Lifespan Extension
With proper oiling, you’re effectively extending the life of your chopping board. Wood, when nourished regularly, is less likely to wear down and show the scars of its culinary adventures.
Bacteria Repellent
Mineral oil, known for its medical and food-safe properties, is a champion in the battle against bacterial growth. By creating a non-permeable layer, oil effectively inhibits the spread of bacteria throughout the board.
Choosing the Right Oil
Not all oils are created equal when it comes to the fine art of chopping board maintenance. The process begins with selecting the right oil: one that not only does the job but also suits your personal preferences and philosophies.
Suitability Checklist
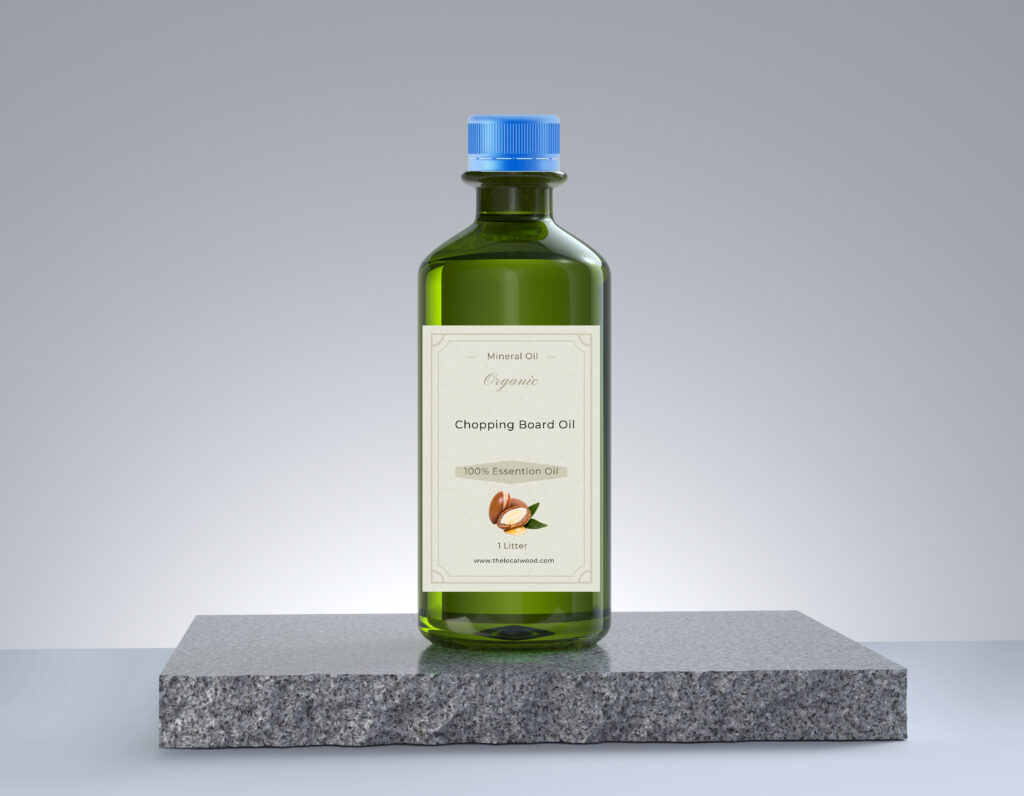
For a general chopping board, mineral oil is the crowd favorite due to its low cost, high effectiveness, and neutral taste and smell. However, if you prefer natural oils, then coconut, almond, or walnut oil can also be splendid choices.
Each Oil’s Essence
The oil you choose will also depend on its properties. Coconut oil, for instance, has a subtle fragrance that can add a pleasant aroma to the board. Walnut oil is a bit pricier but provides a rich color to the wood that can be quite striking.
Preparing the Chopping Board
Preparation is key. A chopping board must be sanitized and completely dried before you apply the first drops of oil to ensure an unblemished and durable finish.
Sanitizing Your Surface
Clean the board thoroughly with hot, soapy water, and if the board is particularly porous, consider using a diluted bleach solution. This step is paramount for maintaining a safe and bacteria-free kitchen.
The Drying Process
Once sanitized, allow the board to air dry completely. If you’re in a rush, you can pat it down with a clean, dry cloth to expedite the process. Remember, water and oil don’t mix, and a moist board will hinder the absorption of the oil you’re about to apply.
Applying the Oil
The moment has arrived. You’re about to bestow your chopping board with the gift of life. This process can be as simple or elaborate as you choose, but the result should be an even coat of oil across the entire surface.
The Method to the Oiling
There are several techniques for applying oil to your board. Some swear by using a soft cloth, while others prefer using a brush to get into the nooks and crannies. Regardless of your method, ensure that the oil is spread evenly, with attention paid to the edges and any exposed cut marks.
Even Distribution
An uneven application can lead to an inconsistent color and finish. Be methodical in your approach; divide the board into sections and oil each part individually, ensuring that you don’t miss a single spot.
Layering for Protection
For the ultimate defense, some recommend applying multiple layers of oil, allowing each coat to dry thoroughly. This process ensures the wood is infused with the oil, providing a deep and lasting seal.
Allowing the Oil to Soak
After the application comes the waiting game. Allowing the oil to soak is crucial as it gives the wood a chance to absorb as much moisture as it needs.
The Waiting Game
Depending on the oil used and the thickness of the coat, the waiting period can vary from 20 minutes to a few hours. The key is patience; a well-soaked board is a well-oiled board, ready to combat the perils of the kitchen.
Removing Excess Oil
Like any skilled artist, the adept in this craft knows that less is more when it comes to oiling a chopping board. You want to preserve the benefits of the oil without creating a greasy surface that repels your affections (and your ingredients).
Blotting Technique
Use a clean, dry cloth to blot the surface and pick up any excess oil. This will ensure that the board feels smooth to the touch and is not slippery.
A Smooth and Non-Greasy Finish
When you’re done, your board should look and feel more nourished, showcasing a natural, non-greasy sheen that invites the touch and promises a clean, dry cutting experience.
Regular Maintenance and Re-Oiling
Oiling your chopping board is not a one-time affair; it’s a relationship that requires regular attention.
Establishing a Schedule
Determine a schedule for re-oiling your board. Depending on use, this can range from monthly to biannually. A good rule of thumb is to oil your board when it starts to look dry or feel rough.
Signs of Thirst
A board that needs oil will show signs of dehydration; it may appear lighter in color in some areas or have noticeable dry patches. Don’t wait until your board is aching for moisture; keep a watchful eye and maintain it regularly.
Top Tips for Maintenance
- Store your board in a dry, upright position to ensure even drying and to prevent warping.
- Refrain from submerging your board in water or putting it in the dishwasher, which can lead to excessive moisture absorption and rapid dehydration.
- Consider the environment; a board used in a dry, arid climate may require more frequent oiling than one used in a more humid setting.
Conclusion
Your attentive care to the chopping board reaps more benefits than might be immediately apparent. A well-oiled board is a reflection of dedication to your craft, an understanding of the kitchen’s essence, and a practical approach to hygiene and safety. As you slice and dice, sauté and simmer, remember that your board is a silent partner in the symphony of flavors and health that you curate.
With these insightful and practical steps, you’re now equipped to master the ancient art of oiling your chopping board. Embrace this tradition, and know that with every application, you’re not just oiling a piece of wood, but preserving a legacy of culinary excellence, one slice at a time. Happy cooking!